• journal

Ricotta Maple + Sand Pear Cake

September 13, 2014 by lean timms in Food

Last week I got wind that a new fruit, one that I hadn't heard of before and one that was new to the late summer growing season in northern Florida, was available at a farm not too far from where I live. Sand pears. I had no idea of their shape, taste, texture or origin. But after months of not much growing around these hot and humid parts, I was ready for this freshly bearing fruit to hit my cutting board and knife. "Make sure you eat at least one as they are", said Brian upon my collection of the pears from Down To Earth Farm.  "They're hard, but they are ripe and sweet. And their texture is much like sand."

Ricotta Maple Pear Cake-3.jpg

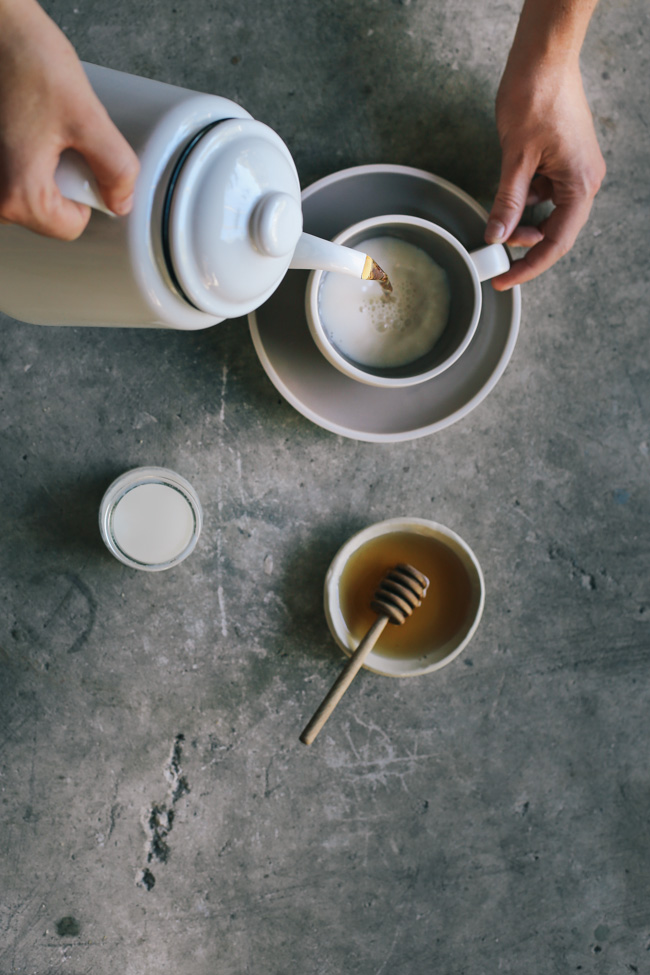
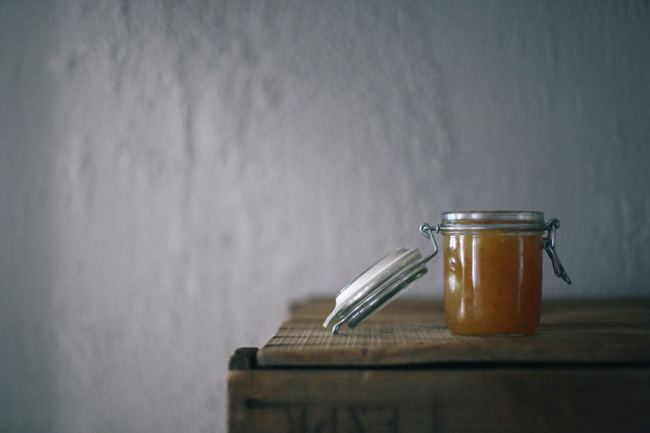
It was also within the same week that I had picked up the pears, that I went to Pizza Night at Community Loaves - the organic sourdough bakery that I very much love and talk about, probably a little too often. The lovely ladies there had recently made their own ricotta cheese. Their freshly made ricotta featured as a topping on their non vegan pizza option that evening. It was so deliciously creamy and apparently not at all hard to make. "Just whole milk and lemons" said Sarah, as she kindly cleared away our crumb free pizza plates. 

So I had Sand Pears and the ingredients to make ricotta. I rode my bike down to my favourite natural food store especially, to pick up some whole fat, deliciously creamy, non homogenized milk from a local farm to make the cheese. It was thoughtfully stored in a half gallon glass bottle, ready to be used, washed and then refilled on return. It put a little extra push into my pedal on my ride home. Both of these ingredients were pure Portlandia - as local and as sustainable as they come. This is the real stuff that I love and live for. I was happy. And it was time to make a cake.

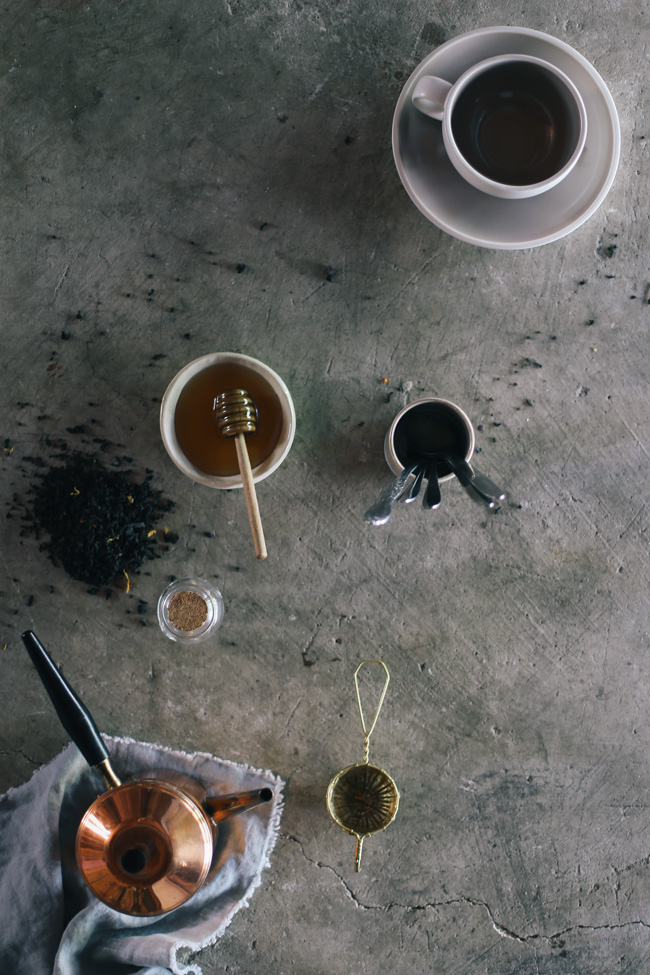
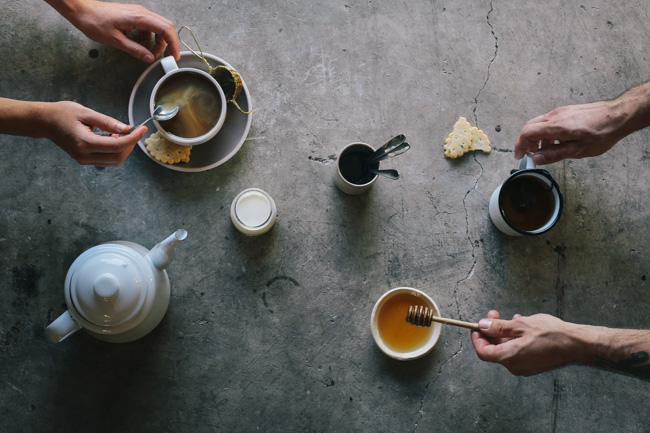
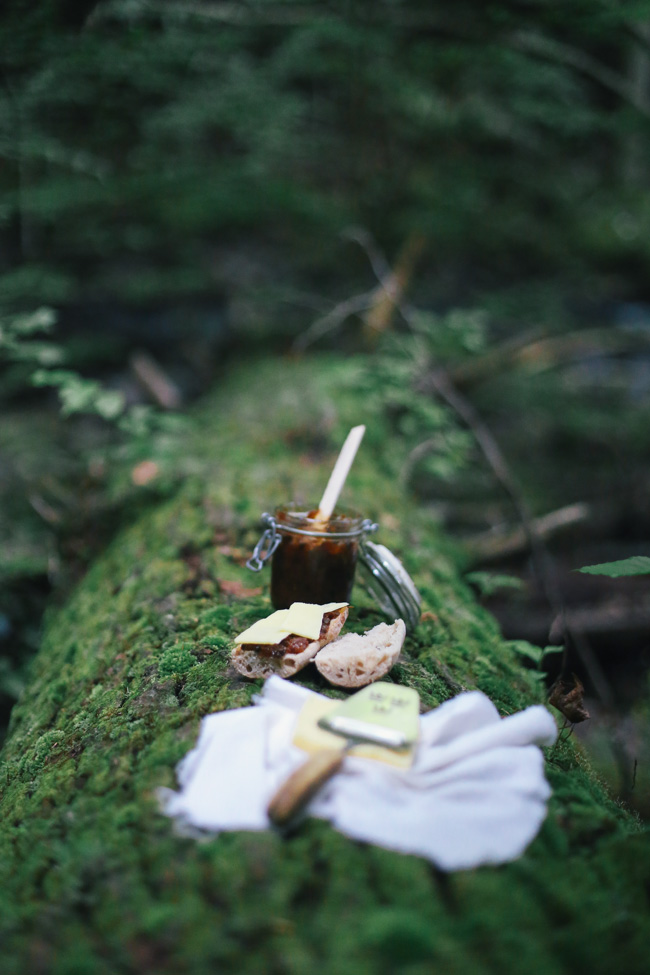
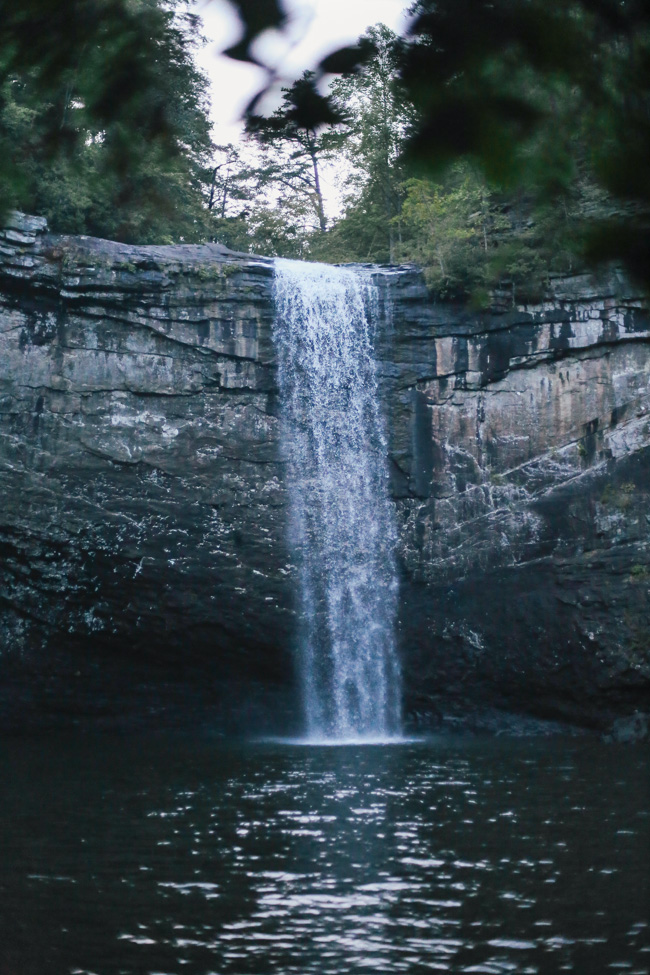
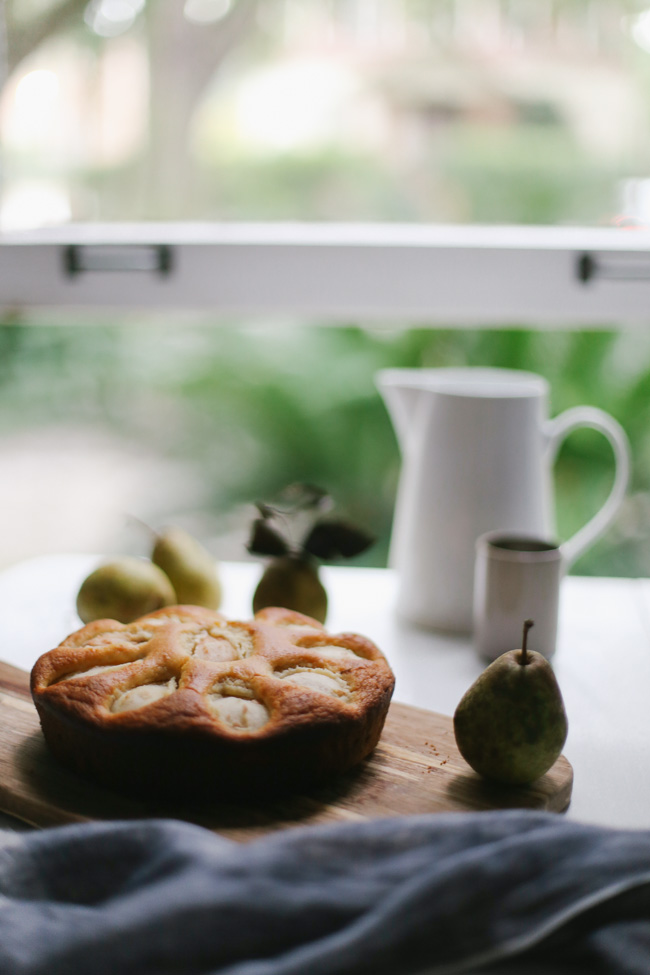
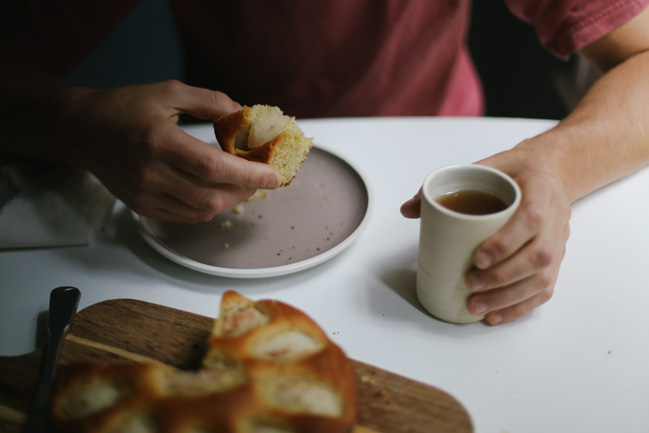
Ricotta so beautifully pairs with pear. I was fixed on making a cake with these two harmonious flavours because I wanted so badly to eat this cake down by the river. We would sit in the afternoon sun, enjoy a cup of tea from the flask and enjoy the end of summer in applaud of the new pear season and the success of making my first home made cheese. 

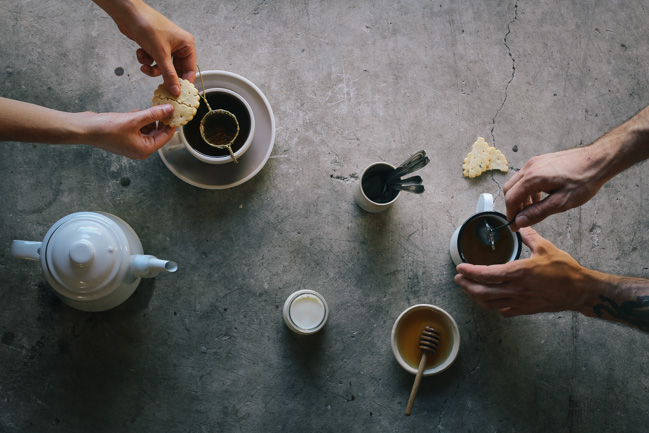
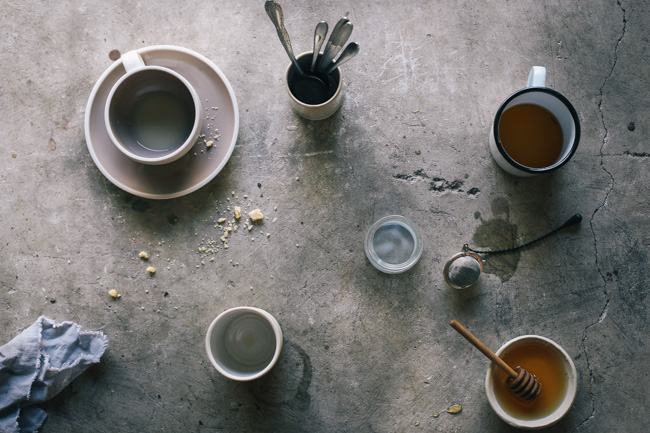
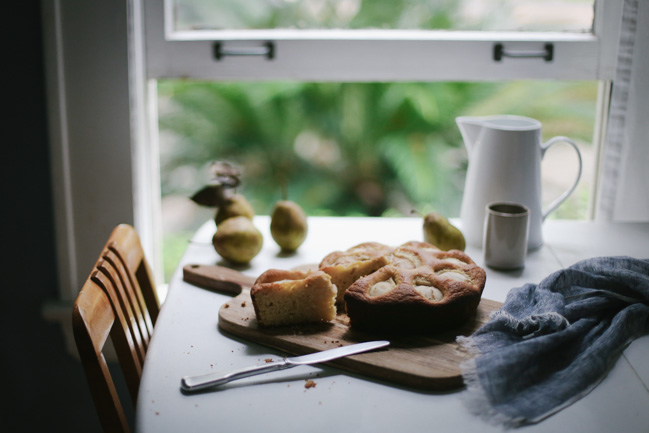
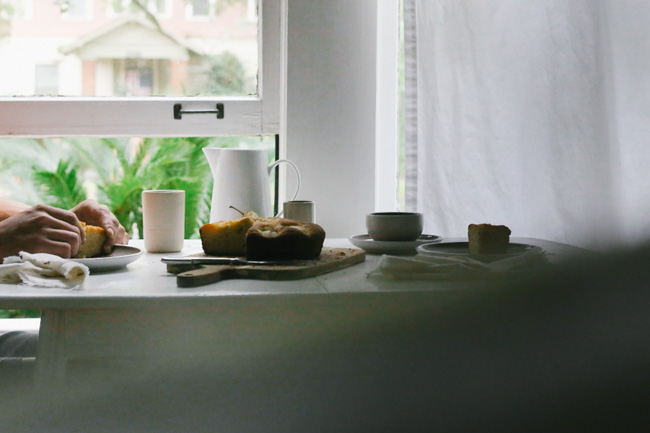
I still would like to do that one day. Have a cake picnic by the river. Unfortunately this time it was a little too wet. The September rain had arrived. So instead, we enjoyed a moody afternoon and a slice of cake by our favourite window in our home.

It's so sad to think that soon enough, this home will no longer be ours. The local farms and stores will be far, far away. And instead of pear cake in September, listening to the late summer rain, there will be cherry blossoms and rhubarb and spring sun on the beach. Time is flying by. Soon we will be south of Sydney and our American life will be left far behind. That's the way it goes I suppose - like changing seasons and fruiting trees, things come and things go. 

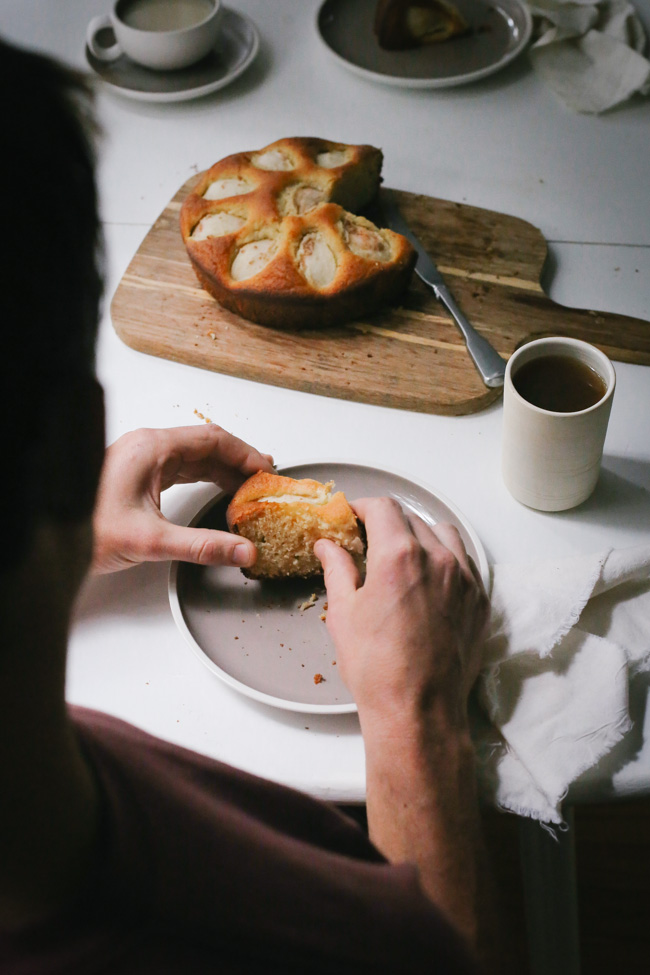
There will be plenty more seasons and much newness to taste. I'm just struggling a little knowing that soon this season will have to be left behind. So, here's to enjoying sand pears, home made ricotta and the seasons, even as they pass, just as they are.

Ricotta Maple + Sand Pear Cake

prep time: 10 minutes
cook time: 40 minutes 
total time: 50 minutes

yields: 8 hearty servings

1 cup fresh, home made full-fat ricotta (see recipe below)
1/3 cup olive oil
2/3 cup maple syrup 
1 tablespoon freshly grated lemon zest

2 tbs whey (or milk)
2 large eggs

1 1/2 cup all-purpose flour
1 1/2 teaspoon baking powder
1/4 teaspoon baking soda

1/2 teaspoon salt
3 small sand pears peeled, cored and quartered

Preheat your oven to 180°C / 350° F, and grease and flour a 23cm / 9-inch spring form cake tin .

Place the ricotta, oil, maple syrup, and lemon zest in a large bowl and whisk together. Add eggs, one at a time, whisking in between each addition. Add the dry ingredients to the bowl and gently mix together to combine. Pour the batter into the cake pan.

Place the pears gently on top of the batter, cut side down, to form a rounded pattern.  

Bake for 40 minutes, or until the top is golden brown and a skewer inserted into the center of the cake comes out clean. Cool in the pan for 10-15 minutes then serve warm or at room temperature. 
 

Homemade Ricotta

prep time: 5 minutues
cook time: 25 minutes - 1hr 20 minutes (depending on how you like your cheese) 

yields: approx 2 cups

1.8 liters / 1/2 gallon non homogenized milk (homogenized milk will work fine too)
1/3 cup lemon juice from 1 1/2 to 2 lemons
1 teaspoon salt, optional
Instant read thermometer or candy thermometer
Cheese cloth

Pour the milk into a medium size saucepan. Gradually warm the milk over medium heat until it reaches 95°C / 200°F:  The milk will get foamy and start to steam; remove it from heat if it starts to boil.

Remove the milk from the heat and pour in the lemon juice. Stir gently to combine.

Let the saucepan of milk sit undisturbed for 10 minutes. After this time, the milk should have separated into clumps of milky white curds and thin, watery, yellow-colored whey.

Place a strainer over a bowl and line the strainer with cheese cloth. Gently pour the curds and the whey through the strainer.

Let the ricotta drain for 10 to 60 minutes, depending on how wet or dry you prefer your ricotta. If the ricotta becomes too dry, you can also stir some of the whey back in before using or storing it.

Fresh ricotta can be used right away or refrigerated in an airtight container for up to a week.


Recipe adapted from here.

September 13, 2014 /lean timms
Food
9 Comments

The Art of Tea

September 09, 2014 by lean timms in Food

Ever since I was a child, tea has been an essential, constant daily ritual in my life. Memories of hearing my parents call out to 'put the kettle on' and having tea with almost every meal and every moment in between, was as pedestrian as it came for us.  It was the tea drinking moments that allowed us to stop, to slow down, to take a moment. Quite often it would be as a family. Never would we make a cup of tea only for ourselves without checking to see if anyone else wanted one as well. It was dad's only drink. Strong, with a good spoon of honey and just a drop of milk. My mum and I shared the same taste, a little less strong a lot more milk and no added sweetness. My Grandma drank it black. Rather weak, with a drop of water so that she could drink it faster and with bigger gulps (she wasn't all that delicate, my dear Grandma). Everyone knew how everyone preferred their cup. 

As I grew older, I began to develop a strong interest towards the art of making, serving and drinking tea. The types, the flavour, the history, the beauty. I believe it to be deserving of plenty of attention and detail - and that it is indeed an art form. You see, making the perfect cup of tea and appreciating the potential of this age old tradition is important to me. I like the ritual of selecting beautiful leaf blends. I like boiling the water pouring it over the leaves and watching it steep. I love nothing more than sitting down to a generous pot in the morning, taking time to sit and slowly start the day. I believe that tea is deserving of this detail, of ritual, purity and of time. 

Over the years as my interest in cafe hunting and dwelling has increased, I have made it my mission to find the perfectly served, perfectly presented cup . Those who know me well know that I take my tea seriously, and that ordering in a cafe can take a lot to impress. Call it an obsession - even snobbish if you will.  But to me it is no less obsessive than a coffee connoisseur making it their mission to find the perfectly roasted bean or espresso pour. Absolutely excusable.  Recently, I have been carefully considering the criteria in which I determine the perfect cup. As it turns out, there are four basic parts to my personal tea judgement and I would love to share them with you. There is always more to talk about - milk or tea in the cup first? Favourite blends of tea? Organic? Fair Trade? For now, I've decided just to share the basics. The fundamentals of preparing and presenting my idea of the perfect cup of tea. So, here it is.

1. The Pot - The perfect cup of tea isn't just a cup. That's the first fundamental rule. Ordered tea should, without question, come in a tea pot. One of the most enjoyable things about drinking tea is the act of pouring the tea into the cup. It's not only the audible, tactile and visual part that makes this step so alluring, it's knowing that after one cup is poured, you still have another, if not two more to enjoy. It makes me happy knowing that when I sit down to tea, I will be enjoying at least two or three cups. If not four or five if I am lingering awhile and have the option of a hot water top up. So a pot of tea is imperative. 

2. Loose Leaf - Second to the tea pot rule, is the type of leaf that you are making the tea from. It is crucial that the tea be a high quality, loose leaf blend. Let's not even bother with tea bags here. Unless, of course you are using one of those cleverly crafted silk tea bags that still manage to keep a nice amount of space inside the bag for the tea to breathe, and the leaves are indeed kept full shape and high quality. But still, if you are to enjoy the full benefits of a proper cup of tea, loose leaf really is the way to go. The leaves come as they are when they are dried. For black tea, they should be long and lean. For green tea, the same. In herbal tea, flowers and fruit should still be identifiable and the colour should still be vibrant and fresh. Really good cafes will let you smell the teas first. A truly beautiful experience of indulging in loose leaf tea. 

3. The Brewing Process - There are some cafes out there who take brewing times of tea as gospel. They will brew your chosen tea for the recommended time and bring the tea out to you, having already disposed of the leaves. Some people like this. I'm not so much a fan. I believe that everyone likes their tea brewed to different strengths. Personally, the time suggested for brewing tea is much to long for me which ends up leaving an overly strong, not so enjoyable cup. I do believe, however, that you can over brew tea. Which is why I have the perfect solution! The perfect cup of tea should come with the leaves inside a removable infuser, which allows you to then remove your tea leaves once your tea has reached the perfect, personal brew time. For even more bonus points, the tea should come with a little timer - to ensure risk of over brewing the tea is avoided. Easy. Everyone is happy.

4. Presentation - Finally, the perfect cup of tea will be thoughtfully presented. There should be a tea pot, as mentioned above, a tea cup and saucer (not a mug, unless it is Japanese tea), a reasonably sized small jug for milk and well presented optional sweeters - eg, demerara sugar, honey etc. The more original the presentation, the better. I personally enjoy hand crafted, minimal ceramics or a beautiful fine rimmed china tea cup.

I have been pleasantly surprised during my travels in the past by tea that has completely obliterated the above criteria, all the while leaving me more than content with the experience. Take Sweden for example. Very rarely do they serve tea in pots. But it will always be loose leaf in a removable single served infuser and always be served in over sized, rather comforting mugs. So, the need to pour more cups is taken away, but the freshness of the loose leaf is not. Turkey is another example. I had no idea how important tea was to the Turkish people. Visiting Istanbul soon educated me on that. Tea is always served in a single, rather small sized cup. It is pre-brewed, quite strong and exceptionally bitter. That's the way they like it. And, despite all of my above pre-requisites above, I did too. I think it was a cultural exception. The tiny tea cups are made of glass, are the cutest hourglass shape and come sat on a traditional painted saucer. Although they are only three mouth fulls big, they are constantly being refilled. Most likely it will be from a happy Turkish man who is pleased to have you at his cafe and quick to announce that sharing a cup of Turkish tea with a stranger, instantly makes you life long friends. If that's not a forgivable serving of a cup of tea, then what is?

At the end of the day, tea is tea. And despite all of my above preferences, the brewing and serving of tea is a personal and cultural experience and differs from one person and from one country to the next.

There is one consistent unwavering factor, however, in the drinking and serving of tea. It invites a moment and a pause in the day. It is an opportunity to stop, to sip and to slow down. However this is done and however it is presented, it is always soothing, always intentional and always very welcome. 


my perfect cup of tea

steep time: 2-3 minutes
yields: 1 serving 

good quality, loose leaf orange pekoe tea
organic milk in a small ceramic or glass jug
filtered water
ceramic/glass/enamel tea pot  
mesh infuser
stove top kettle

Bring fresh, filtered water to boil in the stove top kettle.

While on to boil, prepare the tea. Place a suitable amount of loose leaf tea into infuser. For a 2 cup pot, 1 teaspoon is sufficient. Double the amount for a four cup, and so on.* Be careful not to over crowd the infuser. Tea leaves need room to expand as they infuse, in order to release their maximum amount of flavour. 

Place mesh infuser into tea pot and cover with the freshly boiled water. Allow to infuse for 2-3 minutes. Once desired strength has been met, remove the infuser from the pot. Leaving the infuser in for too long will turn the tea bitter and result in an undesired, over brewed flavour.

Pour a small amount of milk into the bottom of the tea cup**. 

Pour tea over milk to fill the cup.

Enjoy on it's own, or with a sweet treat or two. 

Repeat and enjoy until pot is empty.

*I enjoy my tea most at a medium strength, so any more leaves than this, especially good quality leaves, becomes wasteful. 

**I like the milk to be poured first, and my tea rather milky. 

September 09, 2014 /lean timms
Food
2 Comments

Relishing Simplicity

September 02, 2014 by lean timms in Food, Travel

We quite often find ourselves in the mountains. It's become a lot like a second home. Sometimes Tennessee, other times North Carolina, most times we will be camping and quite often rock climbing is involved.

We are, as it would seem, nature people. The woods provide a certain placidity vital to our souls. For him it is the challenge and the rocky surfaces, for me it is the green and the solitude I find there.  Often, it is just more simple. And we like that. 

The canopy of the woods in the mountains in late August provide an escape from the heat that lays still on the flat Floridian ground. It's nice to find that. But even still, late summer in Tennessee isn't always all that forgiving. And although the foliage provides the shade, the sweat still drips, the mosquitoes still bite and the breeze quietly tends to snuff out. However, the feeling of being among that, as the season intended and without the air conditioning, somehow becomes cleansing. The uncultivated surrounds and the leaving behind of any sort of normal routine make my body relish the simplicity. I feel happier, healthier and more rested.   

smich-5.jpg

There is a trail that leads down a rocky path to the river, where a swinging bridge hangs. The river flows from the waterfall. And like nothing else, we swim. The water is cold. The late afternoon heat is perfect for that. It's also perfect for a simple sandwich snack for his tattered climbing hands to hold and my hungry hiking tummy to fill up on. 

We brought the bread with us, from our favorite bakery in Jacksonville. Once, it was a baguette. I was much too excited and forgot to photograph that. 

The cheese, I bought from a small grocer in Chattanooga. A lovely local cheddar from a farm in Philadelphia, Tennessee. 

The tomato relish, I made to bring with us using the last of the seasons heirloom tomatoes, flavoured with currants, cloves and just the right hint of red chili. 

I would happily take any day by a tree lined swimming hole. No matter how icy the water or how hot the air. It leaves us refreshed of the heat and refreshed of complexities. We revive our sense of wonder at the world, and the best bit, we relish in the simplicity of summer life. 

smich-23.jpg

Heirloom Tomato Relish

prep time: 10 minutes
cook time: 1 hour 
total time: 1 hours 10 minutes

yields: 1 medium jar full

550 gm heirloom tomatoes (about 4), coarsely chopped
175 ml (3/4 cup) white wine vinegar
100 gm (1/2 cup) brown sugar
1 apple, coarsely chopped
125 gm currants
25 gm fine sea salt
1 tsp white peppercorns
1 small red chilli, finely chopped
1/4 tsp ground cloves
finely grated rind of 2 unwaxed lemons
1 medium sterilized jar

Some people like to peel their tomatoes by blanching them in boiling water and peeling them once they are cool. But if you don't mind a more textured relish, skins and all, don't worry about it. Just throw them in, as is.
Process ingredients in a food processor to a coarse paste. Transfer to a large saucepan, bring to a gentle boil over high heat, stirring to dissolve the sugar. Once sugar has dissolved, reduce heat to medium low and stir occasionally until thick (about 1 hour). Set aside to cool. Place in Jar, refrigerate and use within 2 weeks. 


A Simple Summer Sandwich

sharp cheddar cheese
rocket (arugula)
heirloom tomato relish
sourdough baguette 

Combine slices of cheddar, a hand full of rocket (arugula) and a good spread of relish onto a sourdough baguette. Cut into individual size pieces.

Wrap in brown baking parchment, tie up with string and bundle together in a piece of square fabric or a bento bag like this one. Enjoy.


September 02, 2014 /lean timms
Food, Travel
Comment
Pineapple-Jam.jpg

Pineapple Jam

August 14, 2014 by lean timms in Food

Last week, I was sitting in a pie shop in Brooklyn eating an apple and salted caramel slice of heaven. I was down to the last bite. I ate it. And I tasted memories of my grandma. I tasted pineapple jam.

Pineapple-Jam-7.jpg
Pineapple-Jam-6.jpg

I have such fond memories of spending days with my grandma, playing cards and hand sewing teddy bears. The days were much quieter and slower with her. I would hear the clock ticking in the back ground and smell the cows tongue on the stove, being boiled for lunch. For morning tea, grandma would put on the kettle and serve up a piece of white bread smothered in butter and topped with pineapple jam. We would sit there in mounds of silence, sipping and chewing while looking out the side window of the house. I would be smiling. White bread. I was never allowed white bread at home, only wholemeal or some sort of gluten free variety. But this white bread, it was so soft and malleable. I would pinch it and it would stick together. I always ate the crust. Pineapple jam. So sugary and sweet. Sometimes it came out of a golden circle can and sometimes it had been made by grandma and spiked with pine melon - a wild grown melon found only sometimes in certain paddocks and on certain peoples farms. It was all so simple. All so yummy. All so very grandma.

Pineapple-Jam-17.jpg

I wanted to make pineapple jam. Tasting it in the pie shop brought back all of these lovely memories and a flavour that I thought I had long forgotten. It was strange. The pie was apple and salted caramel after all. But for some reason, my brain told my taste buds that they tasted pineapple jam - so I savored it. Who makes pineapple jam anyway? Besides grandmas and maybe people in Costa Rica with way too many pineapples.  I started to brain storm. I wouldn't just make pineapple jam, I would make it special. I would add something else to it, maybe a spice, maybe another fruit, maybe some sort of healthy variation to cane sugar. I would make the jam and then put it into something. Jam drops? Bakewell tart? Some sort of  rolly polly jam sponge? I would style it. With flowers and vases and pieces of grandmas vintage tea cups and fabric. But then something stopped me. Something made me want to slow it all down and simplify. Why not just pineapple jam? On it's own, as it is. The way grandma was and the way grandma used to serve it. Simple.

Recently, I have found myself naturally searching for a little piece of grandma within myself. I have felt the need to simplify. My grandma was a strong woman. She lived alone for the last 30 years of her life, will power through the roof, happy to just get by and as independent as ever. She wore simple clothes, ate simple food and lived a simple life. She held onto special belongings and cherished them, for years. She made things, from scratch.  She was never, ever in a rush. And there is a certain beauty that I find in all of that.

Although I enjoy the parts of life that are slow and simplified, I do enjoy find enjoyment the complicated, moving, busy times full of people and places and adventures too. But the idea of simplifying, of keeping things minimal, cherishing quality over quantity, gathering, making, enjoying slow traditional rituals and stripping things down to their natural, bare beauty. That, that is what I want to take from memories of my grandma.

Pineapple jam doesn't have to be made with cinnamon or rose water. It may taste great if it were, but why not let it be just pineapple? Why not just put it in a jar and enjoy looking at its simple beauty? Why not enjoy it for what and how it is and be content with just that.

Pineapple-Jam-13.jpg
Pineapple-Jam-4.jpg

So I made the jam. As I remembered. Without any pine melon, but with just pineapple, water and sugar. All local, all from Florida. And now I have it, sitting in lovely simple jars ready to be enjoyed as it is or how I want. Maybe from the spoon. Or maybe on a piece of white bread smothered with butter - for grandma and for old times sake.

Pineapple-Jam-18.jpg
Pineapple-Jam-3.jpg

Pineapple Jam

prep time: 15 minutes
cook time: 1 hour 15 minutes 
total time: 1 hour 30 minutes

yields: 2 medium sized jars full

1 large pineapple
1 cup water

2 cups sugar
2 medium sized jars

Remove the skin and core from the pineapple and cut into large pieces. Using a grater, grate the flesh into a medium sized bowl. You should end up with about 2 cups of pineapple, including the juice.

Place the pineapple and water in a small saucepan over medium low heat for about half an hour, or until the pineapple flesh is soft.

Add the sugar and stir on a high heat until the sugar has dissolved and the mixture begins to boil. Once boiling, turn the temperature down to a gentle simmer and leave to cook, without stirring, for 45-60 minutes, or until the mixture thickens. Keep an eye on it, especially towards the 45 minute mark. Every stove top and saucepan is different - you don't want it to burn! The mixture should end up thick with a jam like consistency (it may still be a little runny).

Place 2 medium sized jars in a 95C/200F oven for 10-15 minutes.

Pour jam into jars, cover with lids and store in the fridge for up to three months.

August 14, 2014 /lean timms
Food
1 Comment
  • Newer
  • Older

  • Farms (12)
  • Gatherings (21)
  • Creative Humans (29)
  • Travel (46)
  • Food (62)
SBS Featured Badge.png
             

© 2017 Lean Timms. All Rights Reserved.